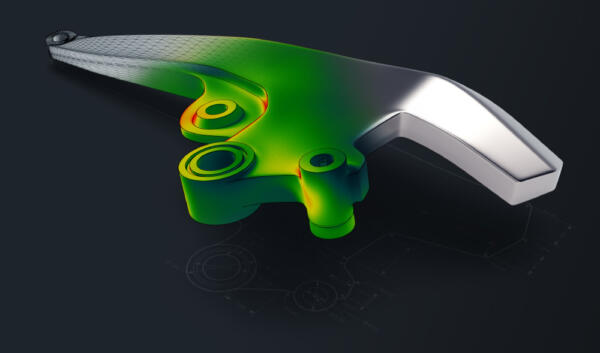
GOM Combines Measurement and Evaluation Software in One Platform
3D metrology specialist GOM has become the gold standard in many sectors with its all-in-one GOM Inspect software. The new GOM Inspect Suite continues GOM’s focus on concrete customer benefits: all applications are now fully integrated into one package and can also be customised flexibly using in-house scripts.
GOM, a ZEISS Group company, provides optical 3D metrology systems. The associated GOM software features free inspection functions that are updated every year and can be extended through the addition of paid modules. GOM’s focus is on its customers: thanks to the software’s intuitive operation and customisable functions, both beginners and industry experts can carry out their specific measurement tasks easily and optimise their processes.
A giant step into the future: GOM Inspect Suite
The 2020 software release includes structural improvements as well as additional functions. GOM’s new software platform goes by the name GOM Inspect Suite. Grouping together all applications and offering full integration, from 3D data capture to reporting, the platform offers a large number of workflow efficiency improvements, greater flexibility and process security, and reduces the need to invest in training.
System-independent evaluation of 3D measuring data
The GOM Inspect Suite 2020 also offers system-independent evaluation software for 3D measuring data generated by fringe projection scanners, laser scanners, coordinate measuring machines and other measuring machines. Users can work with polygon meshes, inspect measuring data and produce reports as easily and efficiently as ever. Paid modules like GOM Inspect Professional support, e.g., parametric inspection and simplify the entire measurement workflow through templates for measuring procedures and inspection reports (‘Smart Teach’ functions).
Highlights of the 2020 release
A significant addition to volume inspection features
For the first time, the 2020 release includes a set of functions for volume inspection of voxel data generated by computed tomography (CT) scans in the free standard inspections. An innovative 3D volume renderer supports the visualisation of interior structures, geometries and shrinkage cavities. Assembly situations and virtual sectional views can also be analysed using CT data.
Modules for industry-specific checks
The modules currently on offer are aimed at customers with special requirements. Blade Inspection functions, for instance, support the inspection of turbine blades in the aerospace industry. The world’s first Virtual Clamping solution has been developed further for the automotive industry, for use with rigid and non-rigid parts made from sheet metal and plastic. The measuring data produced as a result of Virtual Clamping are exactly comparable with the results of a physically clamped component. The software function removes the need to invest in expensive clamping fixtures and minimises operator influence.
The component-based workflow and digital assembly in the software have been further optimised. It is now possible to digitise additional parts from within an assembly project for fast trend analyses. These modules also include a virtual measuring room for automated measurements and component checks in series production. An intuitive Kiosk Interface makes it easier for non-specialists to get started with measurement automation.
GOM offers flexible online training
To help users understand and make use of the new software functions in the 2020 release, the GOM Training Center is offering tutorials and sample data sets. Online training courses enable people to take part from anywhere at any time and supplement classroom seminars.
For more information about the GOM Software 2020, please visit https://www.gom.com/goto/q0sf.
GOM UK Ltd
02476 639920
Website
Email


