GOM Metrology Cutting Inspection Times at COBA
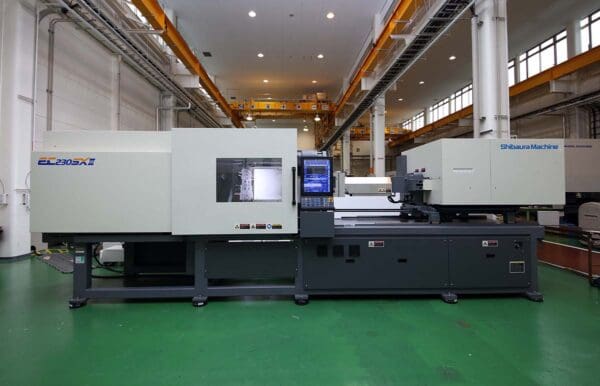
COBA Plastics Moulding are plastic injection moulding experts, offering a full range of services from 2k injection moulding to more technically demanding components and tool design. With help from the GOM ATOS Q, the business has been able to improve its production processes by shortening inspection times and increasing the amount of data collected.
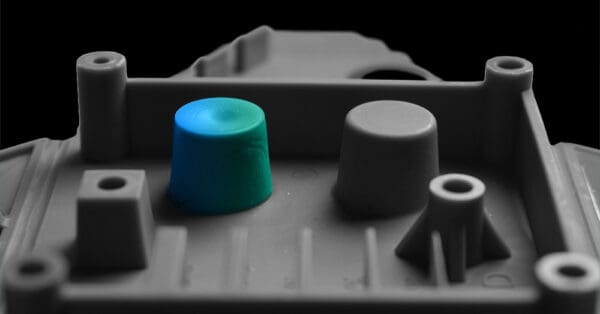
COBA Plastics Moulding (CPM) is part of the COBA Plastics Group of manufacturing companies. COBA Plastics Moulding (formerly CD Plastics Mouldings Ltd.) joined the Group in 2016 as the specialist injection and over-moulding division. COBA Plastics Moulding’s workforce produces a diverse and competitive range of plastic mouldings for a broad base of customers in the automotive, electrical, mechanical and houseware industries. They specialise in technically demanding components with short lead times, based on volumes from a few hundred to several million. Large scale investment in cutting-edge software and machinery and highly skilled in-house design and engineering teams underpin their market position.
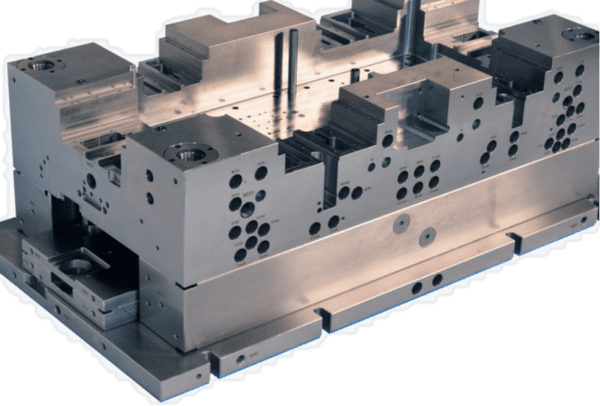
Always on the lookout for accuracy, CPM’s clients design complex products and machinery up to complete cars based on precise 3D CAD models. If an injection mould tool does not accurately reflect the original design drawing, this will translate into issues with the finished product. Automotive OEMs have very high standards, such as RPS alignments and geometrics features, and increasing the accuracy of measurement processes, means more reliable end products.
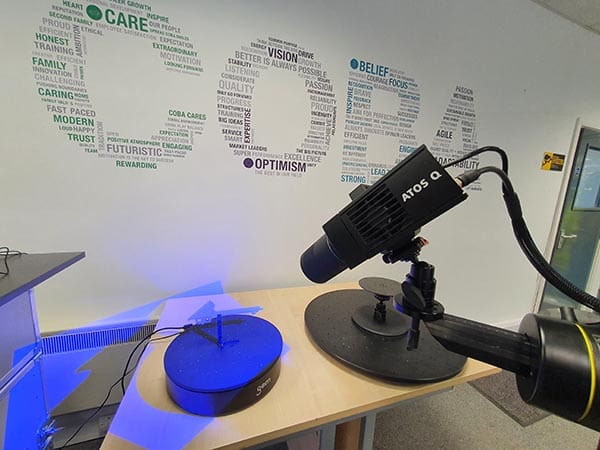
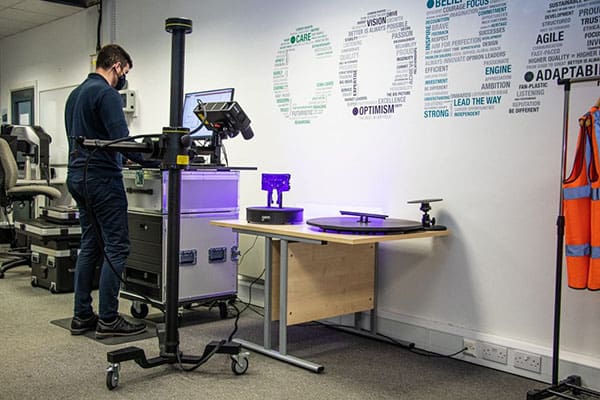
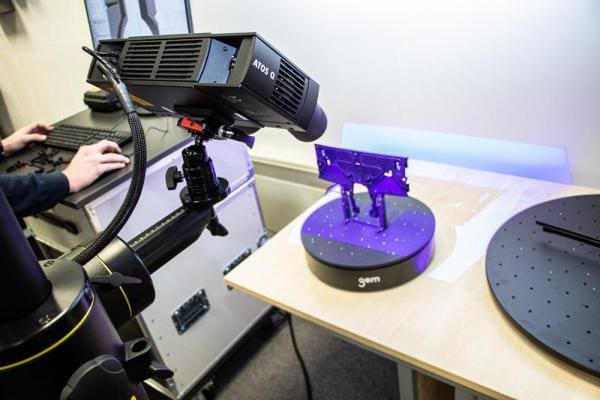
ATOS Q is an optical 3D coordinate measuring system allowing non-contact measurements of complete surfaces of prototypes, electrodes, tools, and injection moulded parts regardless of the object size. In contrast to tactile measuring techniques, this method captures complex freeform contours quickly and completely. Full-field surface measurements guarantee a faster first article inspection and targeted tool correction, thereby reducing production lead times. The ATOS Q’s changeable measuring volumes can be adapted to specific measuring tasks, depending on the size and the geometries of a part.
Capturing up to 12 million data points per scan, the data quality is perfect for creating digital twins of component parts. The Blue Light Equalisers’ high-speed fringe projection is so powerful that even on uncooperative surfaces, such as the smooth, shiny surfaces created on many of CPM’s products, short measuring times can be achieved without the need for mattifying sprays.
Until recently, all measurements were carried out with callipers and gauges or other non-digital processes, and this can be sufficient in many applications. However, in certain sectors such as automotive, where tolerances for moulded components can be as small as 0.1mm, precision is key.
CPM initially sought an external partner to take on the necessary measurement requirements; however, given the volume of work faced, it made more commercial sense to invest in equipment that will benefit all clients as well as widening the type of work CPM can carry out. It just so happened that the external contractor CPM used for measurement were using GOM systems.
Marcelo Faverao, CPM’s APQP Engineer, said this about the new investment: ‘Being able to offer this level of analysis is a big step forward and means that we’ll be able to work on a wider range of projects that require PPAP and serial production measurement, predominantly in the Automotive sector, but also for our non-automotive customers that need a precise and reliable quality inspection process.’
At COBA Plastics Moulding, the ATOS Q device will be used for three main functions: tooling measurement, PPAPs (production part approval process), and in serial production. Measuring injection mould tools is something that CPM hasn’t had the capacity to carry out until now. This will allow the team to quickly identify whether non-conformance is related to the tool as opposed to other elements in the manufacturing process. Problems identified at this stage can prevent more expensive issues further along. Providing more accurate information in the PPAP offers our customers reassurance that production will be consistent and meet their vital production schedules.
Finally, using the device for measurement in serial production will improve the speed and reliability of quality control at the manufacturing stage ATOS Q features Blue Light Technology, which ensures the most accurate and repeatable measuring data.
Even the smallest details can be taken for accurate and realistic evaluation, determining, for example, the correction values for the tool geometry (sink marks, warpage and shrinkage) and the machine and process parameters. The system also ensures production control minimising scrap and rework, and the scan data of multiple parts can be used for trend analysis.
Click Here for more information on the GOM measurement solutions for plastics.
GOM UK
02476 639920
Website
Email
